

What I’d like to offer on this Blog is a brief description of one of the books which I found to be really useful in preparing for the games, and then a brief after-action-report of the first two trench raids we have played through, spread over a couple of blog posts.
Almost every book on the trenches and warfare on the Western Front has a reference to trench raiding and patrolling. However, one book which I found to be really interesting in giving a view of the reasoning and policy behind raiding was “Trench Warfare: The Live and Let Live System” by Tony Ashworth. The sections about raiding are extremely well written and consider how (at least on the British side) raiding was assimilated in a general strategy of attrition and how raiding as an activity prevented or destroyed tacit truces between combatants along the frontline. I’d certainly recommend the book to people (second hand copies can be picked up very cheaply), and a lot of what follows are themes drawn or inspired by that book.

“a foul, mean, bloody, murderous orgy”
Trench raiding was brutal, violent, frequently horrific and fought on a particularly personal level in a war which was otherwise often typified by the role of artillery. The form of violence sometimes seems almost casual: “So I took off my tunic, slipped my old raincoat on over my leather waistcoat, dumped my tin hat on my head, and picked up my nail-studded knobkerrie.” (Siegfried Sassoon writing in “Memoirs of an Infantry Officer”, at page 19). Certainly, the tactics and weaponry could be quite different to those used on a large scale daylight attack. Sassoon again: “they were brandishing knobkerries, stuffing Mill's bombs into their pockets and hatchets into their belts...”.

The temptation to think of some of the early trench raids as a bit of a ‘punch-up’ comes through pretty strongly, an element of near near-cavalier terminology creeping into Field Marshal Haig’s description of raiding policy when he wrote that “At the present time I think our action should take the form of (1) Winter ‘sports’ or raids continued into the Spring; (2) Wearing out fight similar to 1 but on a larger scale at many points along the whole front” (Douglas Haig’s Diary 14 January, 1916).

But whether we read about soldiers preparing sometimes near medieval weapons, or treating the raids as almost a “sport”, for most of not all this was a deadly serious business. “I do not know what opinion prevailed among other battalions but I can say that our greatest distress at this period was due to that short and dry word “raid”. Adducing one reason or another, the lowering of the enemy’s spirits, the raising of our own, the identification of some supposedly new troops opposite, the damaging of the German trenches, the Great Unknown behind us were growing infatuated with this word”(Edmund Blunden, "Undertones of War", p177)
The First Raid
To try and recreate the raiding actions on the Western Front, Richard Clarke has put together a short article “Winter Sports”, which is included in the TooFatLardies Christmas Special out this week, for use with the “Through the Mud and the Blood” rules. In the game, the raiders are given a mission (here to rescue Captain Carter, captured by the Germans earlier in the day), select a raiding team, and attempt to cross no-man’s land undetected in order to attack the enemy trenches and “Get Carter”. The defenders have initially limited troops and resources, but when (or if) the raiders are spotted additional troops and weapons will become activated.
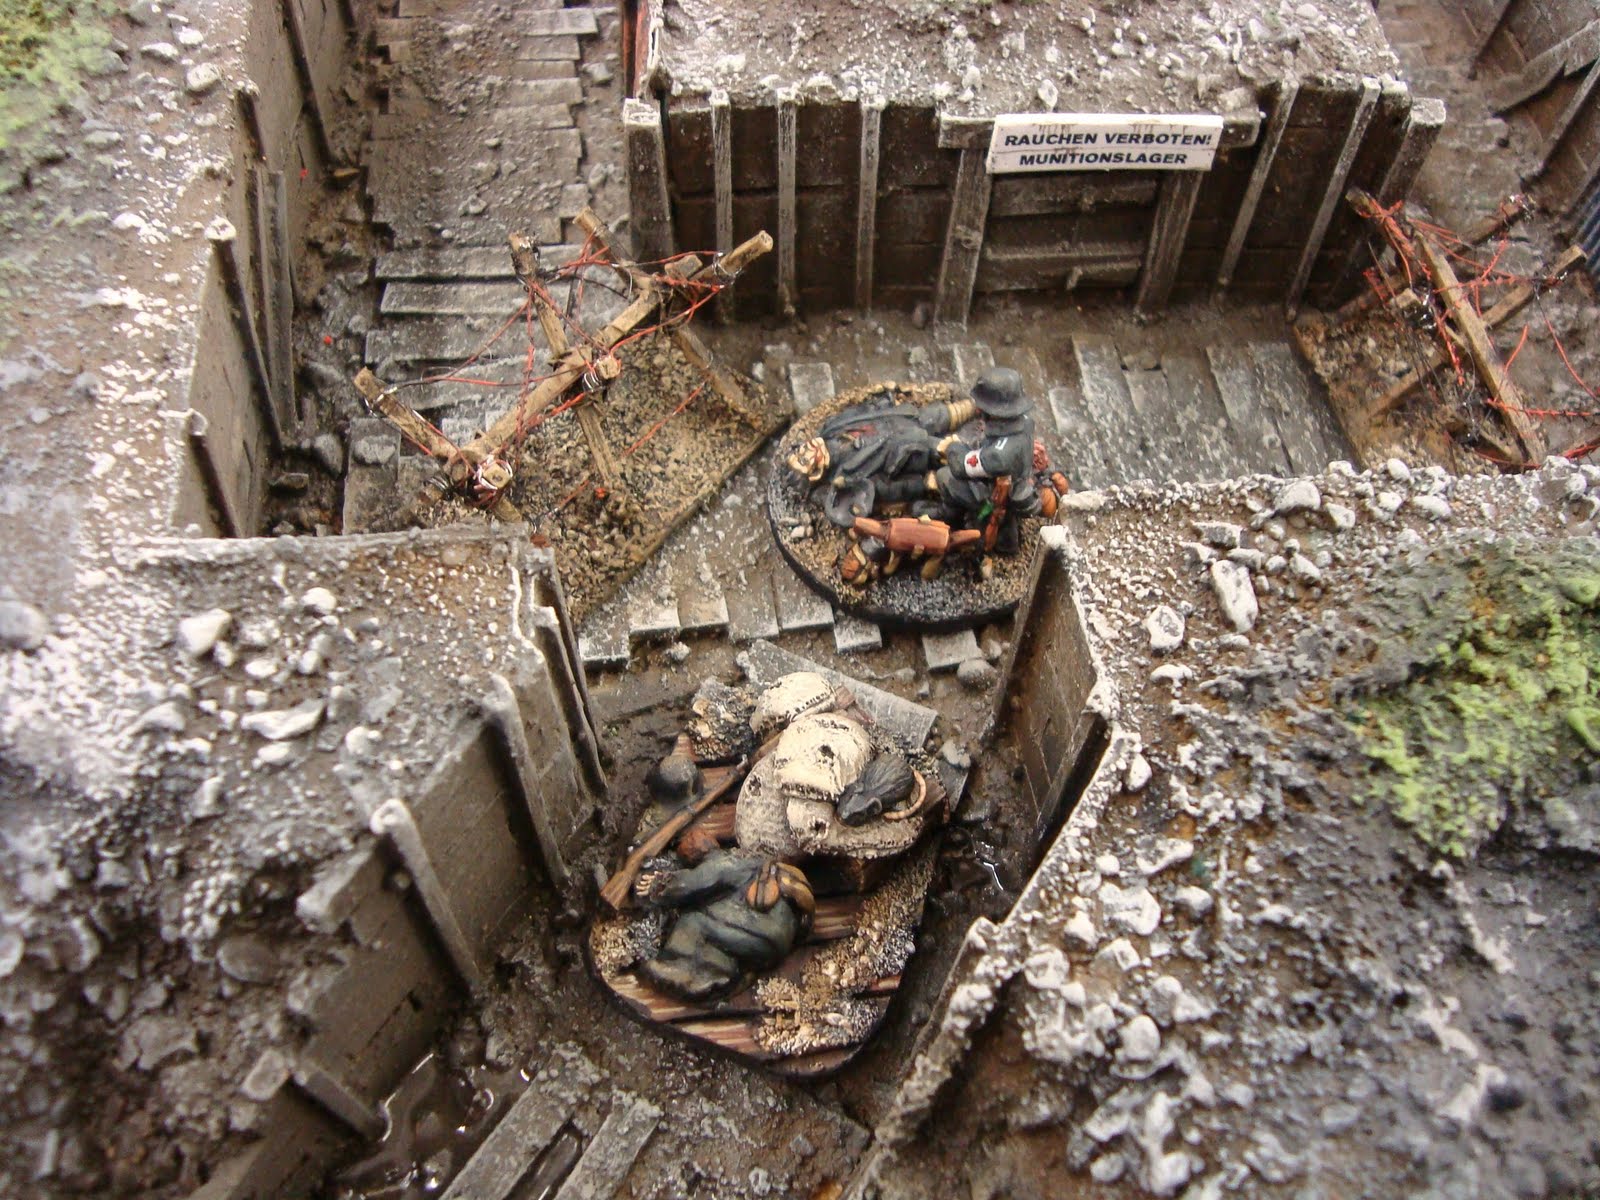
The battlefield was a small trench table, using the terrain boards I built last year. The whole are was 4 foot square, with a front line trench, several dugouts and bunkers and a couple of communication trenches leading to the rear.


So, to the game.... The British raiders were lead by Lieutenant Reggie Carshalton, supported by Sergeant Alf Mitcham and Corporal Bill Banstead (all fictional names, with each leader, or Big Man, representing the three British players). Conscious of their mission, all three British players resolved, with determination to, “Get Carter”! Each leader was commanding a section of 8 soldiers, armed variously with bombs (hand grenades), rifles and other “trench cleaning” weapons.

Against them, the deceptively peaceful German lines were garrisoned with three sentry posts, two groups of Stellungbattalionkämpfer (basically line troops with rifles but few hand grenades) and four leaders (one officer and three NCOs). The figures were Great War Miniatures and Renegade Miniatures, with a couple of Old Glory sentries added in for fun. Here are two of the sentry positions I used...


...and here’s a group of German officers appearing, briefly, from their command dugout to scent the night air, enjoy a cigar and watch the SOS rockets further down the line.....

The German defenders also had the chance to activate a heavy machine gun as the raid progressed, and of calling on two groups of Eingreiftruppen (tougher and better armed German troops from the support trenches).
The game was ready, taking place in the dead of night on a cold winter’s night in Northern France, early 1917. The British raiders chose not to concentrate their forces, stealing quietly through the shell craters of no-man’s land and cutting gaps in the German wire.

In a couple of places, carefully laid tripwires and an assortment of old tin cans hanging on the wire gave a tinkling sound, alerting the German sentries to the fact that something was happening out beyond the front line trench.

It was a tense journey for the raiders, crossing the battlefield and the remains of so many fallen comrades and enemies...

At last the first raider section, led by Sergeant Mitcham, jumped down into the German trench...

....and were quickly in action against a group of German defenders lead by red-eyed but still alert Gefreiter Artur Spengler. From sleep to fighting for his life in less than 10 seconds...

A general alarm was sounded, and the cold night sky was quickly criss-crossed with dozens of Very flares and SOS rockets, bringing other German Stellungbattalionkämpfer quickly to the action, many heading in the direction of Lieutenant Carshalton’s section, the young officer still negotiating his descent into the German trenches.


The German HMG, a Maxim MG08 in a heavily reinforced shell crater, was also made ready to repel the attackers...


Other German reinforcements continued to arrive, including the first of the Eingreiftruppen, better equipped with stick grenades.


A brief, vicious series of close assaults followed in which the Sergeant Mitcham’s raiders were forced out of the front line trench and Lieutenant Carshalton’s troops were pushed back by the arriving reinforcements. After taking heavy casualties, the raiders decided that discretion was the better part of valor and swiftly left the trench, leaving casualties behind no both sides. The British players did not succeed in their mission to “Get Carter” and secure the recue of the brave Captain, at least not this time.


A tough, violent fight, very much along the lines of “a foul, mean, bloody, murderous orgy” rather than “winter sports”, but with the honours firmly left with the German players. Next blog, I hope to show you the second raid, which we played last night, which featured a “peaceful penetration” by an Australian trench raiding team. Hope you can join me for that!


